I choose a KDC-519 coupled to a 50x4 Kenwood Amp and a 400x1 Profile Amp... This install is not necessarily specific to these products, but IS specific to the Ford Crown Victoria, and more or less, a 1992 model with non-premium OEM sound.
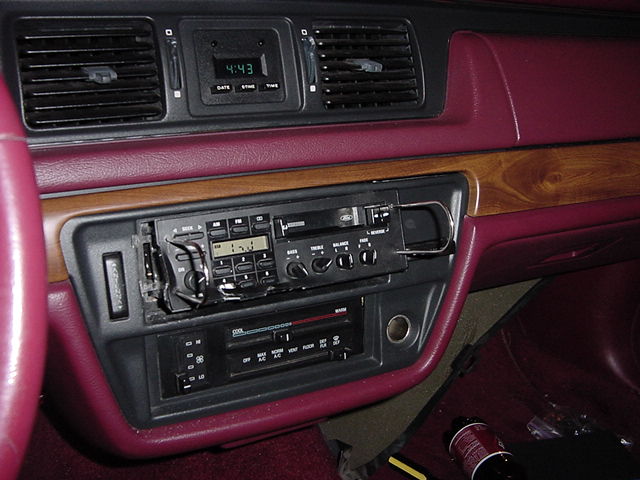
First thing is to take out the old (hopefully OEM) radio. If it's the orginal radio, it probably requires a DIN removal tool which you can obtain at Wal*Mart for $3.96. An aftermarket radio usually requires special keys which are available from the manufacturer and specialty shops. To use the DIN removal tool, you install a "U" into both sides, push towards the outside, and pull the radio out.
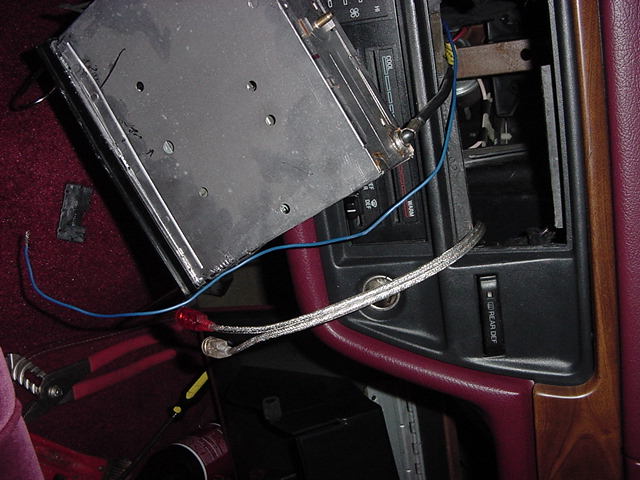
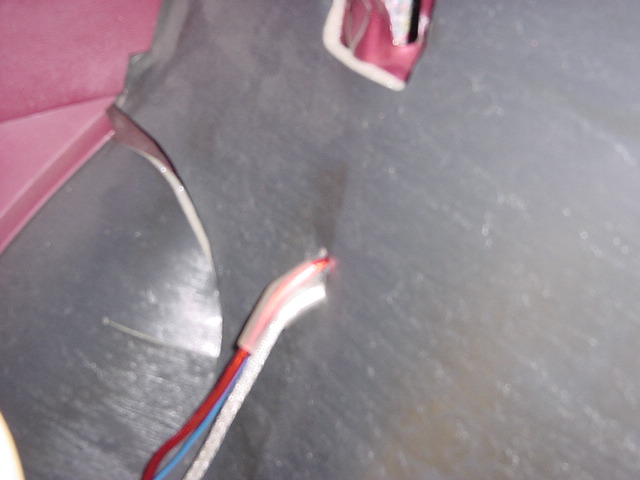
Next thing I did was to pull through the wiring for the amplifier (remote turn-on and audio cables). You can see the antenna connector, the audio cables, and the remote turn-on cable in this picture.
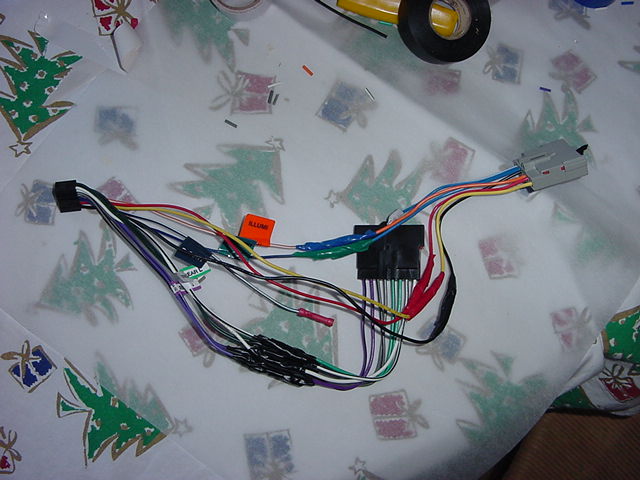
I choose to make my own wiring harness instead of buying one or splicing the wires to the factory wiring harness. You can buy the wiring harness side adapter from Wal*Mart for $6.96. The wires are all the same color on both sides of the harness. In the 1992, you do not have to connect the power antenna wire, but there are two connectors for the car side. If you have an amplifier, the remote turn on lead from your new radio should connect to the amp. The wires are all color coded, as is the tape around the solderless connectors.
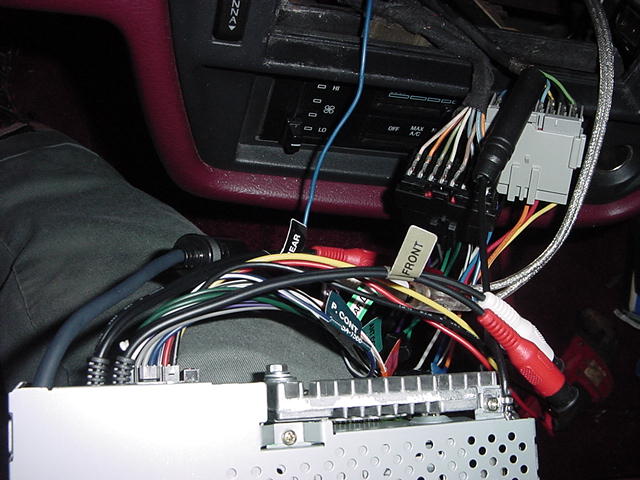
The wiring harness plugs into the back of the new receiver, as well as into the two car-side connectors. The audio cables are connected to the stereo's pre-outs and the remote power lead is connected to the correct wire. The antenna slides into the sleeve connector, but be sure to tape it together tightly.
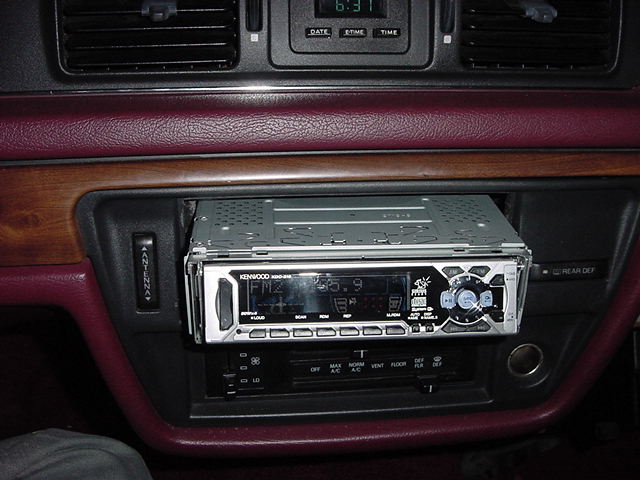
From there, the receiver just slides back into place. The 1992 has a cross brace already in place. If not, you'll have to install one and use a M4x8 bolt to secure the back of radio. I left mine unbolted for now, so I can add satellite radio or a changer easier if I wish. Once it's back all the way, you'll want to bend the tabs further down to secure it in the indentation between the trim panels. The tabs alone hold it quite tightly.
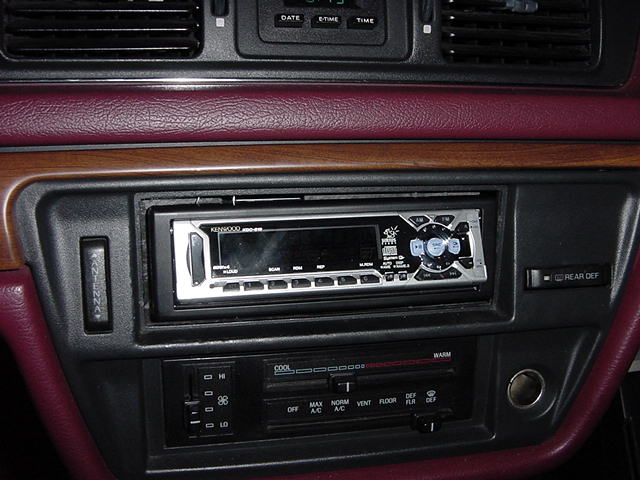
Final installation before powering up. Nice, tight fit in dash with the black bezel just pushed in place (use the four corners only!).
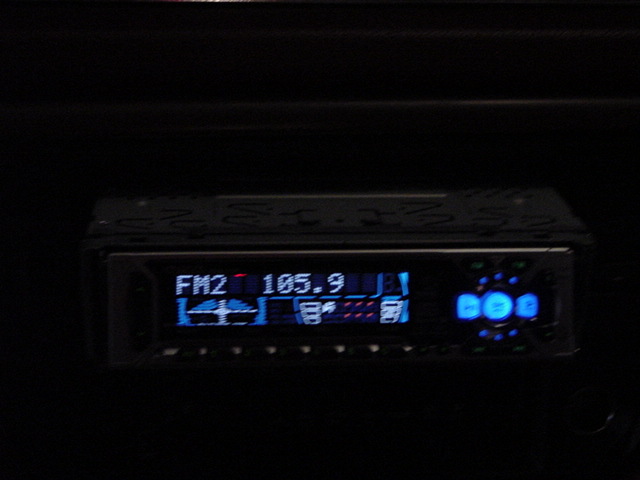
Oooohhhhh!! Look at those colors!
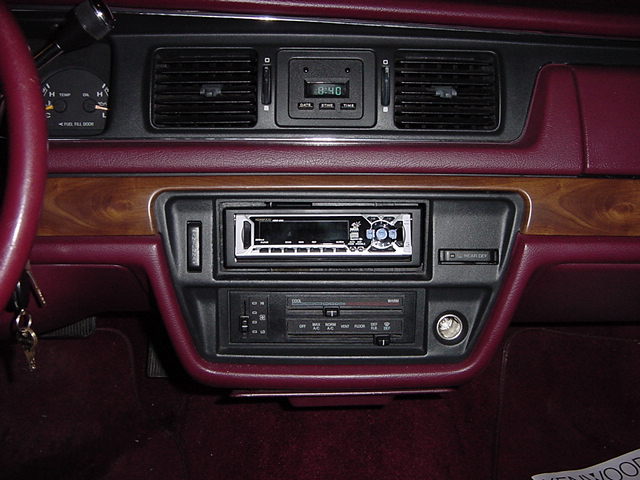
A clean install makes all the difference, especially in an otherwise stock vehicle.
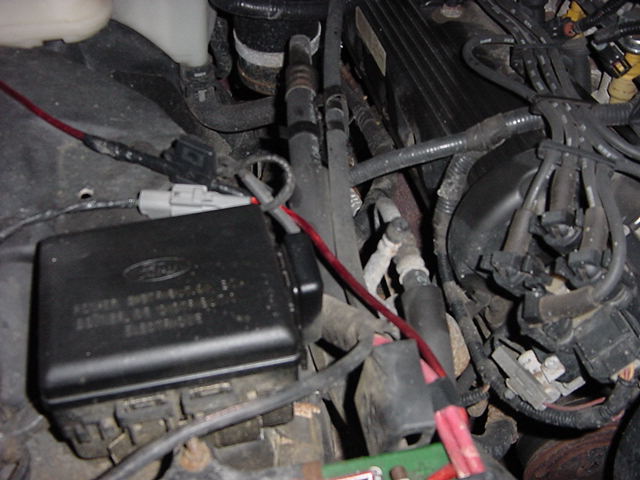
The power lead for the amplifiers from the battery. (Notice ATO style fuse in weather-resistant holder.)
The 8-gauge wire goes through a grommet in the fire wall, under the kick panels, and through the metal seperating the trunk and the passenger compartment. A grommet here is necessary too. You can use tape on the low amperage wires if you want.
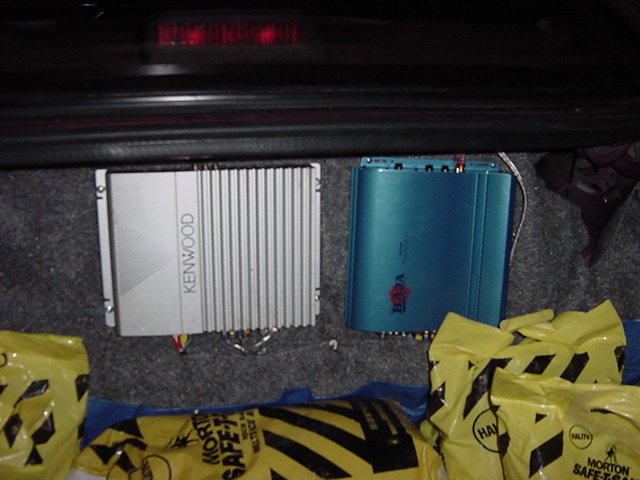
The Profile 400w and the Kenwood 200w amplifiers mounted on the subwoofer box (which is covered in the stock carpeting). All wiring is seperated and run under the carpeting.
Doing this install yourself is not difficult, but time consuming and may cause cuts on your arms. If you have the money, it may be worth it to blow $200 on a professional install. However, I enjoyed this project and think that it adds a nice, LOUD touch to my "slow" looking vehicle. ;) Email me with questions or comments, klttredirect@hotmail.com. Thanks for visiting!